If you’d like to learn how to add new statuses to Jira or modify existing ones – this guide is for you.
What are the statuses of Jira issues?
Jira offers a variety of templates for creating a project. Use cases for these templates may vary from Scrum or Kanban boards for software development projects to specific sales pipelines or go-to-market coordination. The purpose of having a specific project template like that is to have a workflow that fits your needs.
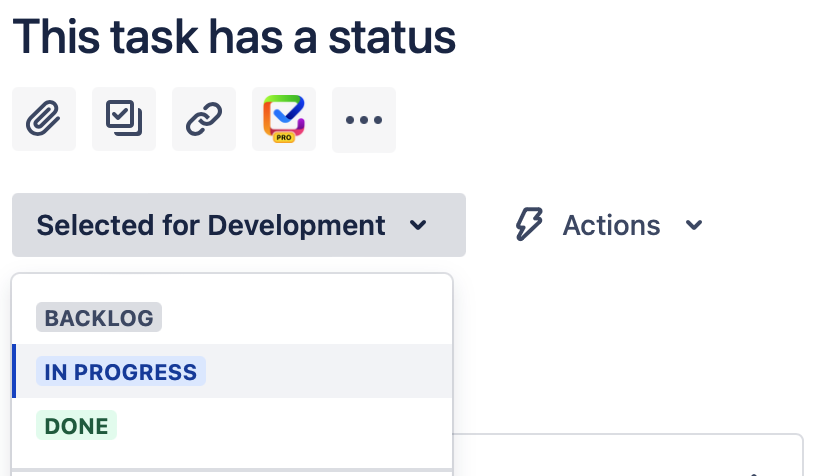
This workflow is the path an open ticket goes through to get from “planned” to “done”. And each step in this path is a specific indicator of an issue’s position in the workflow. In simpler words, it is the issue status.
Generally speaking, Jira offers a nice selection of default statuses that fit within the workflow designed for a specific project template. But, as projects grow in complexity or teams scale to meet the challenges, you’ll need to adjust and add more steps to the process.
How do you create and add more statuses to the defaults?
Some of the most common additions to statuses people may want to add to a software development project are QA Passed, and QA Failed. There may also be cases where you’d like an In Review status for your issues. This can be helpful when a Product Owner needs to prioritize a bug, for example.
In these and many similar cases, there’s an obvious need to add the new status to your Jira project.
Technically, there are multiple ways you can do this. My personal preference is to add the status from the board settings screen. This lets you create your statuses and customize the columns on the board at the same time.
Step 1: Go to your board and click on the button with three dots to open the Board settings. The button is located at the top right corner of the screen.
Step 2: Select columns in the Settings menu and click the “Add status” button. This is where you’ll see your board columns as well as the statuses that are associated with them. One column can have multiple statuses. This can be quite useful if you want to keep your board minimalistic while still having the flexibility to sort issues by their status or gain certain specific insights from reports (more on that later).
Please keep in mind that if you don’t see the “Add status” button, ask your Jira admin for help or the appropriate permissions.

Step 3: Type in the name for your new status or select one of the existing statuses from the drop-down menu.

Step 4: Select a category for your status. Do remember that this step is important. Some teams prefer to set up their Jira boards in a way where the To Do items are kept in the backlog tab rather than having a dedicated column on the board. So, if you choose a To Do category for a new status, like Ready for Review (because the review has technically not happened yet), an issue with this status will also not appear on the board.

Step 5: The status you’ve created will appear in the Unmapped Status column. Simply drag it to the column you’d like to associate it with. This way, when a user changes the status of an issue from the issue view, the ticket will automatically move to the corresponding column.

You can also remove statuses from the Columns tab. Hover over the status you’d want to remove, and click on the button with the x at the top right corner of the status.
Add custom statuses in workflows
There’s an alternative method of adding, removing, and modifying statuses in Jira. You can do this by editing the workflow directly.
This method is a bit trickier, but it also offers more functionality. For instance, you’ll be able to set up transitions between your statuses making sure that the new tasks with a certain status can only flow in a specific way. For instance, you can set up your workflow so that a new task must always go through a review or QA check before being moved to done. You can learn more about managing a workflow in Jira from this guide.
Step 1: On the right side of the dashboard, click on the ‘Cog’ icon and choose the “Issues” option.

Step 2: Select the “Workflows” menu, find the workflow for the project you’d like to modify, and click on the menu with three dots to edit.

Step 3: I’d suggest selecting the Diagram view. This will make editing the workflow a bit simpler and more intuitive. Click the “Add status” button and either type in the name of your new status or select one from the drop-down menu. Don’t forget to click on the checkbox to allow other statuses to transition to your new one (if that’s something you need).

Step 4: Once the status is on the diagram, drag it into the place you’d like it to be. The dragging itself doesn’t serve a functional purpose, but it makes the workflow much more readable. Then, click on the status to edit it. Select the category you’d like to associate the status with, just like I did in the previous example.

Step 5: Finally, you can adjust the transitions. Click on the arrow to edit the transitions. You can also set up additional functionality from this screen. For example, you can set up triggers that will automatically update the status of a ticket based on a certain event, like the creation of a pull request or rejection of code review.
Using statuses in reports
Statuses in Jira are a particularly useful tool. And I don’t say that just because you’ll always need to move your tasks across the columns. The status of an issue is a certain element of data Jira can gather and help you analyze.
For instance, you can use the Cumulative Flow Diagram to easily visualize potential bottlenecks based on historical data.

Jira Service management also has a great example of using statuses in reports. You can use the dashboard to analyze the performance of a certain agent based on the task status ratio.

Lastly, you can use Jira statuses as a parameter in your JQL searches. For instance, you can find the items that have moved from one status to another by a specific user over a certain period with the following JQL string:
status CHANGED FROM "In Progress" TO "Open" BY user BEFORE endOfWeek() AFTER startOfWeek()
Conclusion
Custom statuses can become a powerful tool for tailoring Jira to align closer with your process and approach to work.